Proper Surface Preparation – Tips and Tricks for a Flawless Final Finish
Proper surface preparation ensures good adhesion, smoothness, and a long-lasting final coat by following key steps.
Proper surface preparation is the foundation of every automotive painting project and the key to achieving a durable and aesthetically impeccable finish. Improper preparation can lead to poor adhesion of subsequent coats, visible scratches, and other defects that compromise the final appearance. Below are the essential steps to help you achieve optimal surface preparation.
Clean and Dry Surface
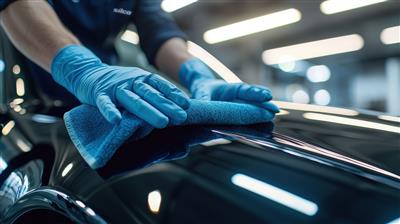
Before beginning any work, ensure that the surface is completely clean, dry, and free of dust, moisture, and grease. Contaminants resulting from the working process should be removed using an anti-silicone cleaner such as 9515 Anti-Sil. This guarantees excellent adhesion for subsequent coatings and prevents potential issues in later stages.
Filling – Proper Mixing and Application of Putty/Bodyfiller/Mastic
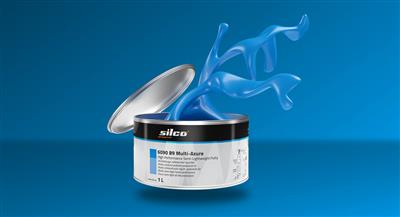
In automotive refinish work, proper application of putty is crucial. It is essential to mix and apply the putty correctly. Any excess resin will not integrate into the putty but will drain off, which indicates improper mixing. It is not recommended to use IR or any other high-temperature drying equipment, if temperature control is not possible, while the maximum temperature for drying of the putty is 45°C/113°F. Forced drying of polyester putty at elevated temperatures can lead to problems with adhesion.
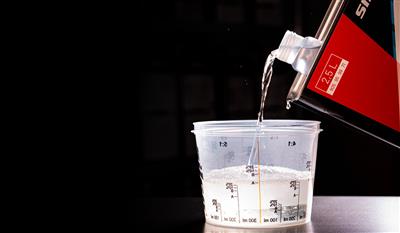
The mixing ratio is 2% - 3%. For higher summer temperatures and larger surface areas, it is recommended to use the slow hardener 6067 Polyester Putty Hardener, Slow. The 5920 Putty Dispenser is ideal for precise dosing, as it allows for adjustable measurements under varying temperature conditions. You can also use a precision scale for accurate hardener measurement. Overdosing the hardener will result in bleeding of the peroxide hardener.
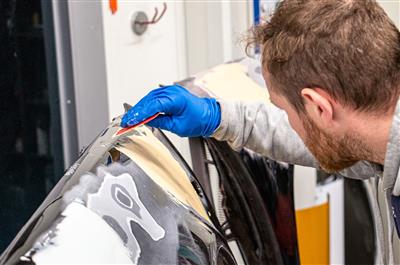
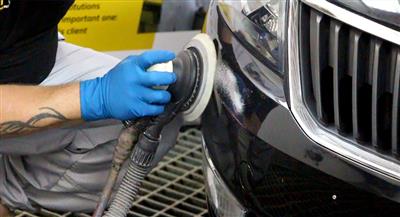
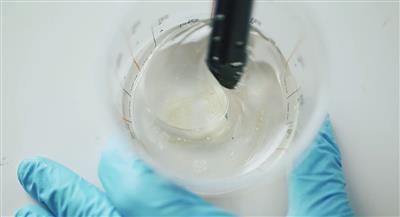
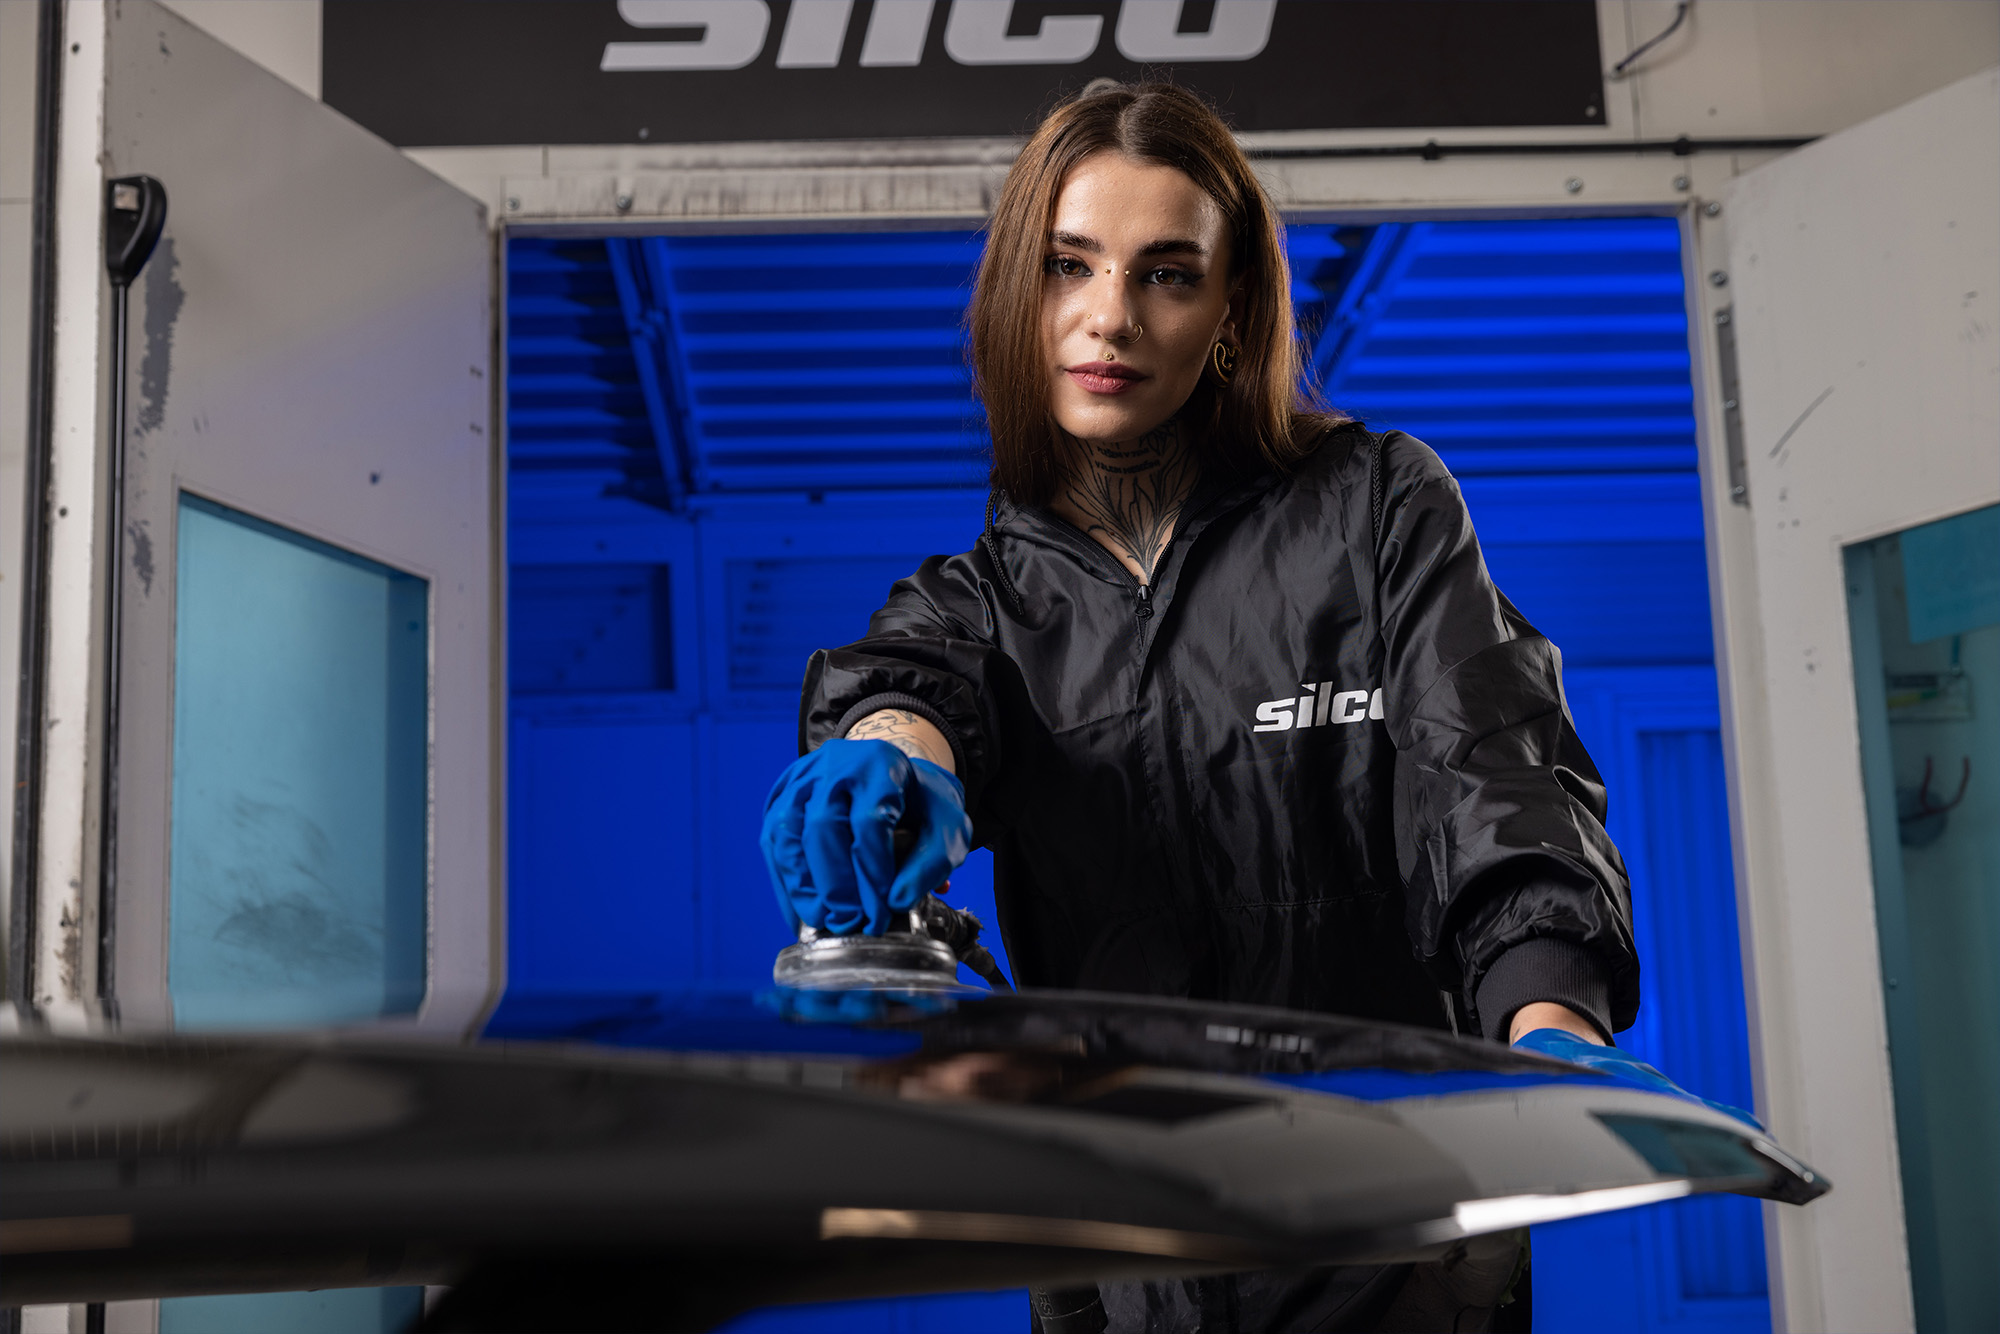
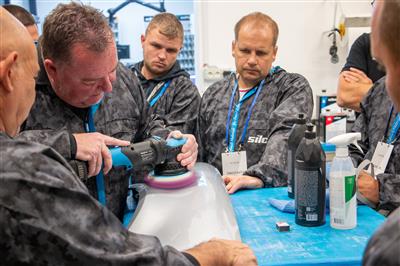
Mix the putty until no traces of the hardener remain, which is indicated by the absence of red or blue marks. Before each new application, thoroughly remove any scratches to ensure a uniformly sanded surface. Applying the putty in several thin layers is advisable, as a thick application can lead to irregularities. Using a control powder like 3530 Dry Guide Coat before sanding is crucial because it highlights any pinholes or uneven areas that must be sanded before applying the primer. After each use, ensure that the putty container is securely closed to prevent it from drying out. Sanding – Proper Grit Selection. During sanding, avoid using coarse sandpapers such as P60 and P80 because they can cause deep scratches that are difficult to remove. Since putty is hygroscopic, dry sanding only. It is recommended to start sanding with a P120 grit and then gradually move to finer grits, ensuring that the jump between grits does not exceed 100 (e.g., P120, P150, P180, P240, P320). When transitioning to a finer grit, ensure that all scratches from the previous grit have been eliminated, as the next grit will not remove imperfections from the previous sanding. This gradual transition allows for even and smooth surface preparation before applying the primer.
Application and Sanding of Filler/Primer
Application is 1 - 3 layers with flash-off until matt between coats. Several thin coats will provide better isolation and create a protective film, reducing the risk of lifting & wrinkling effects. If the putty work has been finished sanding with P240, the primer starts sanding with P320 and then moves on to P400, preferably using foam-backed sandpaper or soft interfacer 4630 Soft Interface Pad. For metallic, pearls or metallic, the final sanding is P500 or P600 grit. Additionally, it is recommended that the workshop temperature be maintained at a minimum of 15 °C, as low temperatures can have a negative effect on drying times.
For larger sand through to bare metal, an appropriate primer (epoxy or etch) must be pre-applied.
Hardeners and Thinners
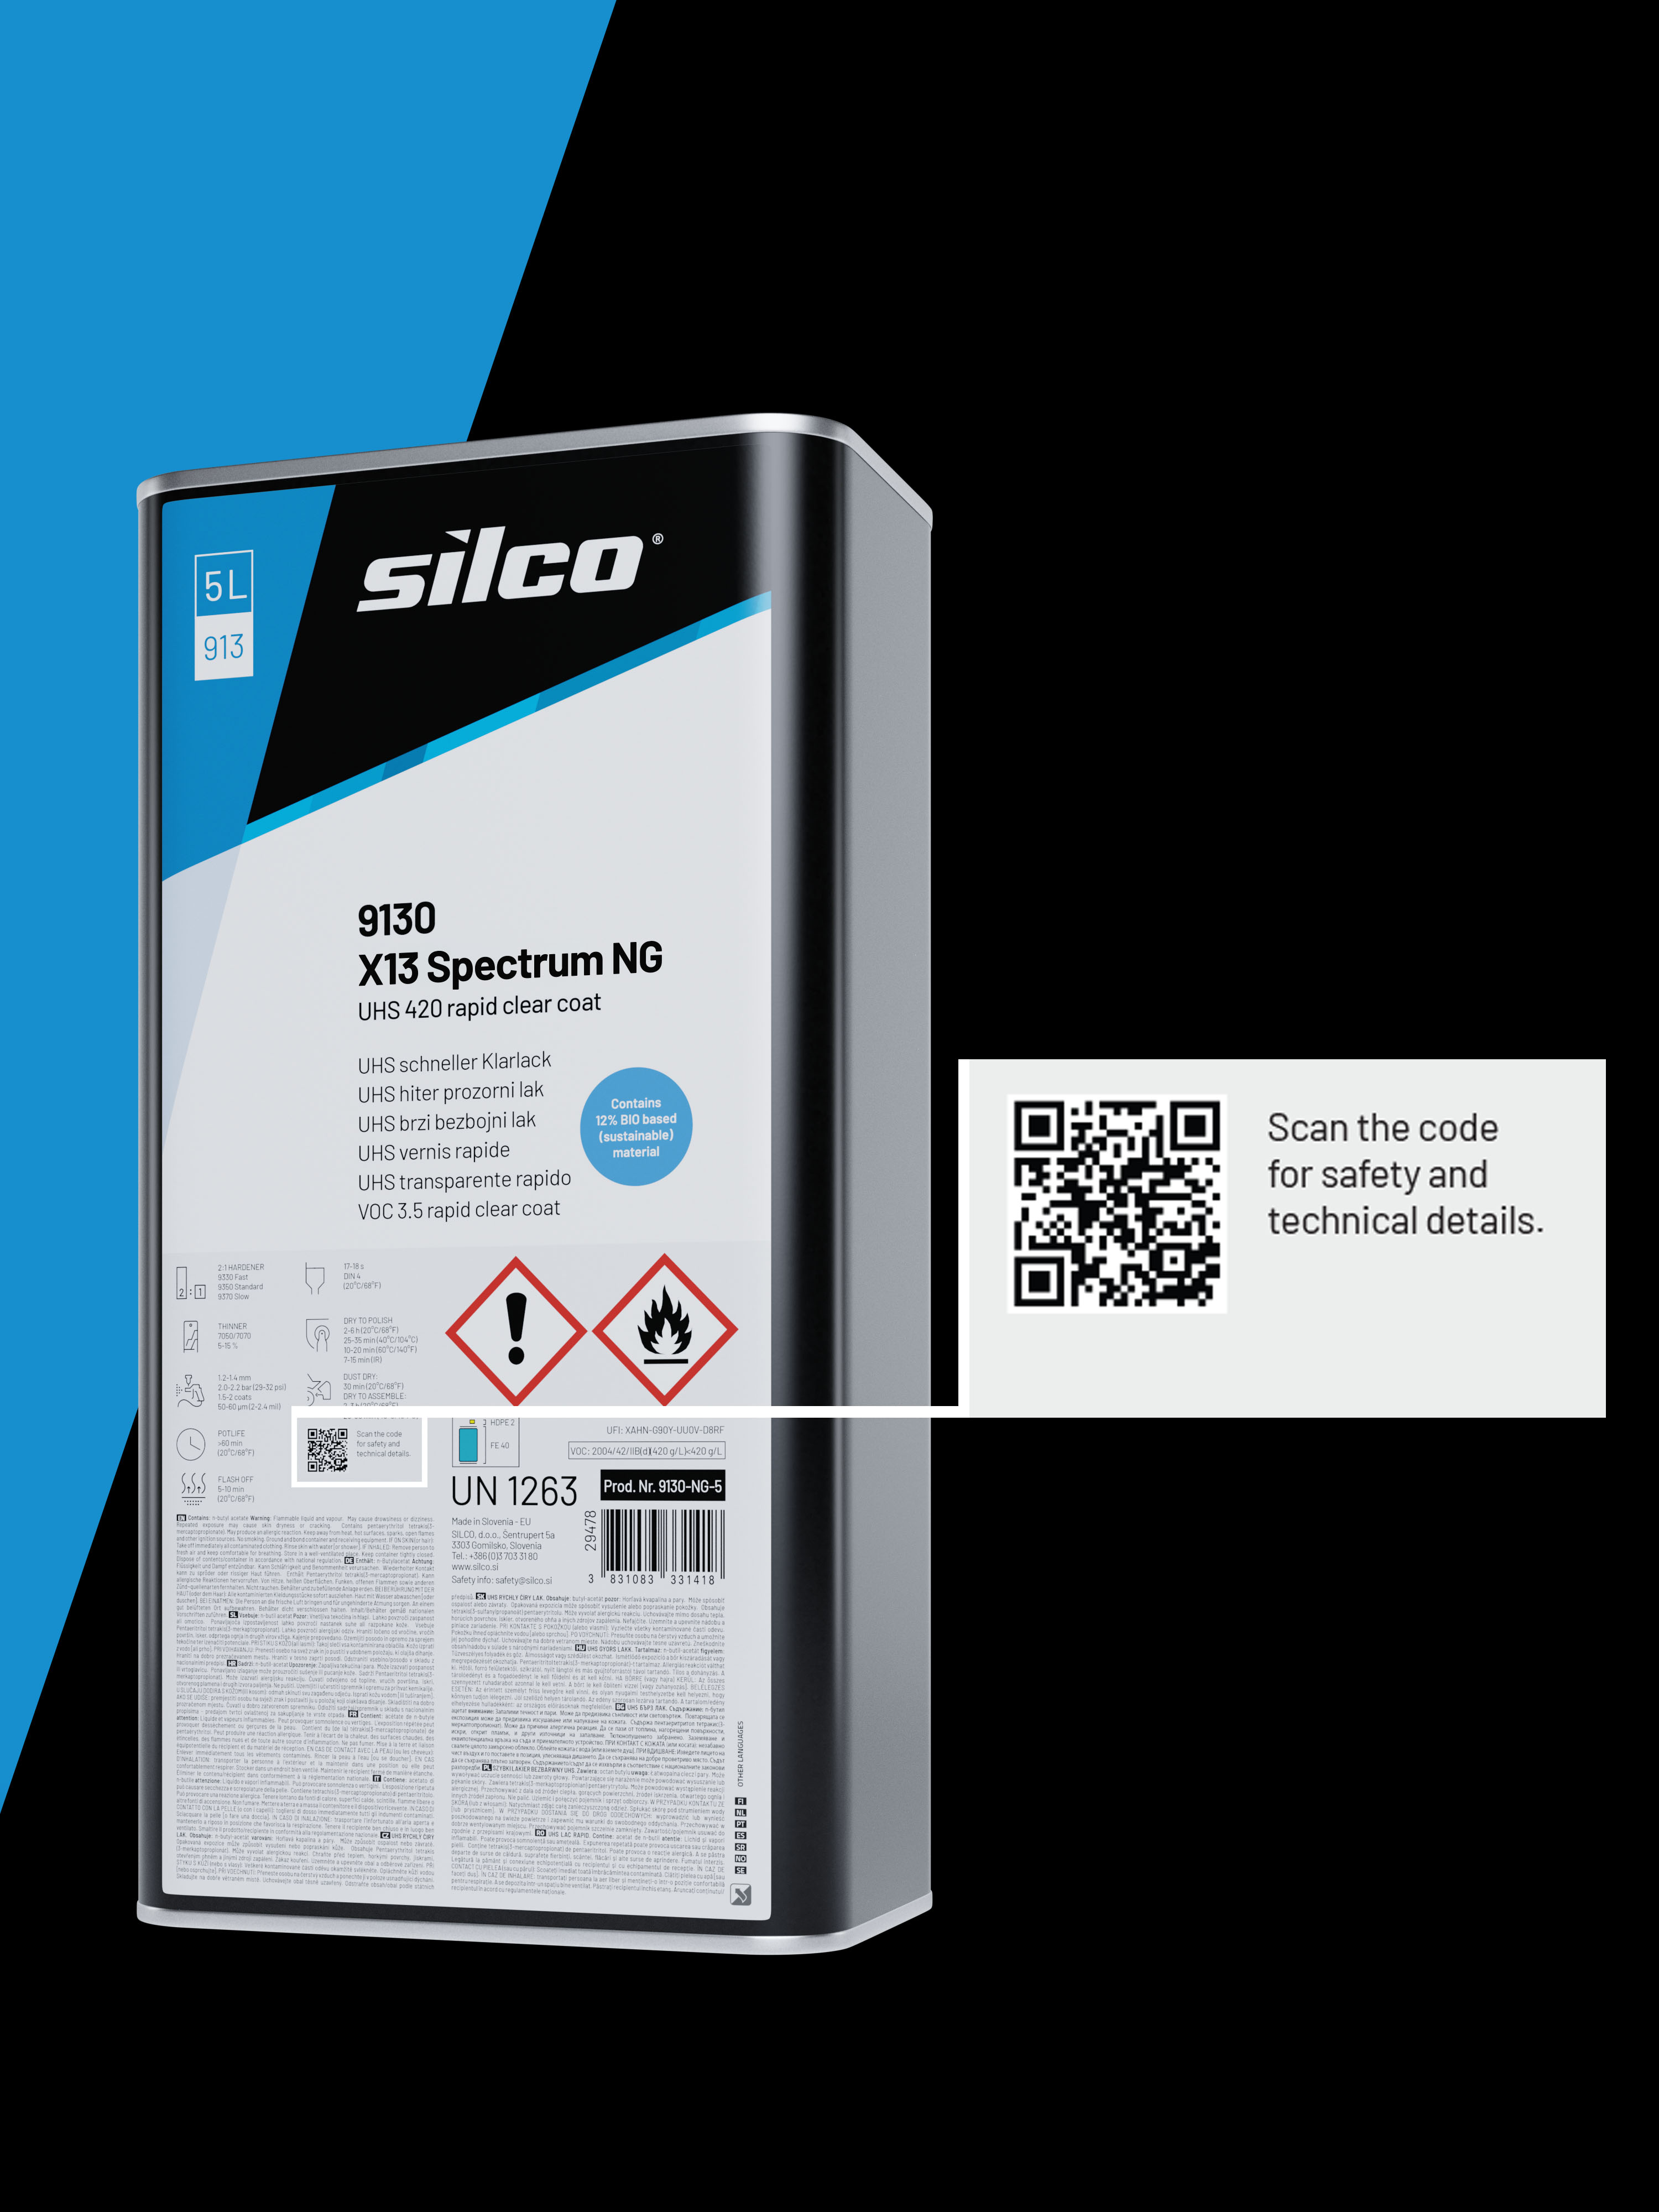
Always follow the technical data sheets (TDS) when using hardeners and thinners. Our product labels include QR codes that allow you to easily access the technical and safety data sheets online. All documents are also available through the Silco Technical Center. Before adding thinner, thoroughly mix the hardener into the filler to ensure an even and proper chemical reaction between the materials. Nitro thinner should be used exclusively for cleaning the equipment and not instead of universal thinner.
Gun Application and Pressure
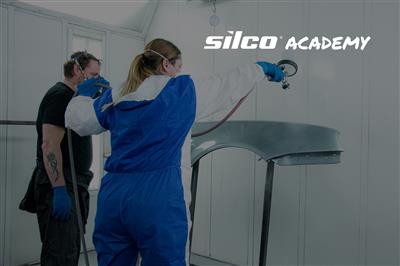
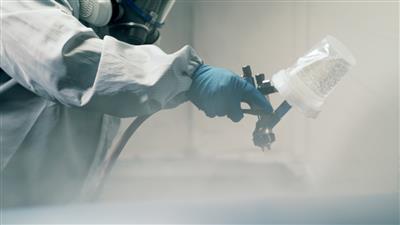
When applying the primer, choose a primer spray gun. Use a nozzle between 1.4 and 1.8 mm regarding the type of repair, with an application pressure of 1.5 to 2 bar. After each use, the spray gun must be thoroughly cleaned with an appropriate cleaner, such as 5555 Nitro Thinner, to ensure optimal performance in subsequent applications.
Primer Application Area
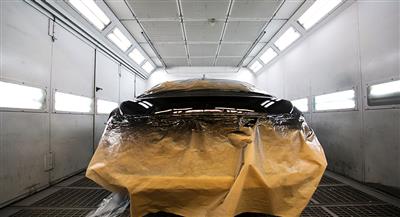
The primer should be applied in an area with proper ventilation and filtration, which is essential for rapid and even drying of the finish. It is advisable to apply the primer progressively—from larger areas to smaller—to prevent covering the overspray of previous coats.
Conclusion
Proper surface preparation is not merely a technical step but the key to achieving a flawless and long-lasting finish. By consistently following all the outlined guidelines—from thorough cleaning, precise puttying, and proper sanding to the appropriate use of hardeners, thinners, and painting equipment—you will ensure that your project is both successful and aesthetically superior. Attention to detail and persistence are paramount, as a well-prepared surface lays the foundation for the perfect final finish that will satisfy both you and your clients.





















![[25 Years of Silco] It All Started With an Idea](/Data/File/@W400/blog-2024-12-barvanje-pozimi.png "[25 Years of Silco] It All Started With an Idea")